
Learning how to take photos does not depend only on owning a professional camera. Today, anyone can greatly improve the quality of their images by understanding basic principles such as light, composition, focus and visual intent. A good photo is not born simply from pressing the shutter; it also depends on observing your surroundings, organizing the elements and knowing what you want to communicate with the image.
If you are looking for how to take beautiful photos, this guide will help you improve from the very basics. The idea is not to overwhelm you with technical terms, but to show you practical steps you can apply with a camera, a phone or even an iPhone. With a few simple adjustments, you can achieve clearer, more balanced and visually pleasing images.
You may also be interested in: How to find a reliable audiovisual production company in Peru?
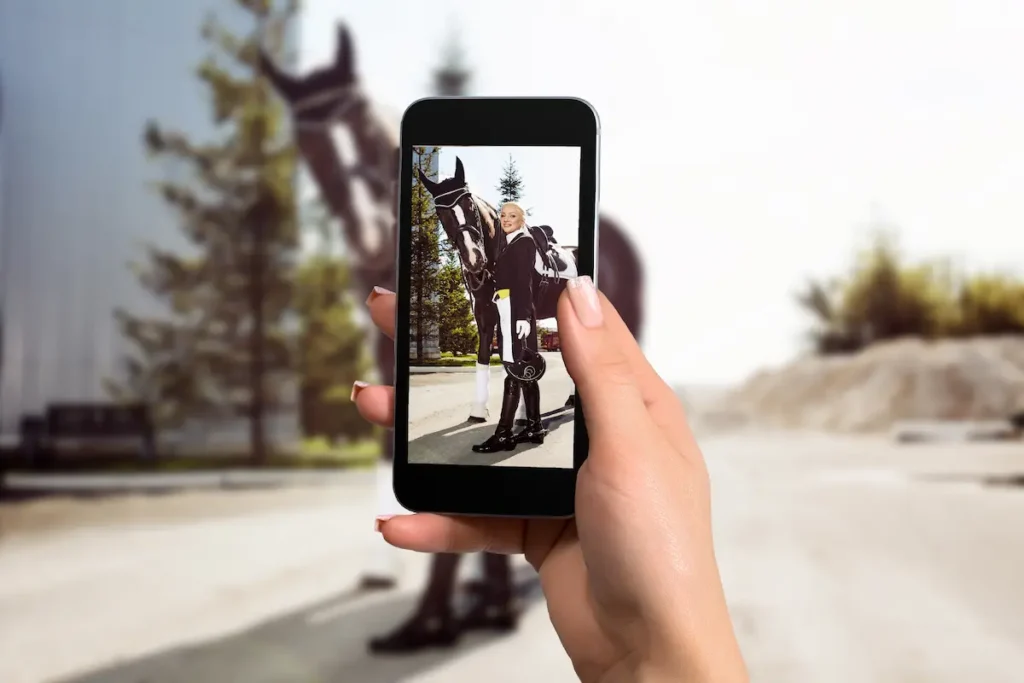
Why learning how to take photos improves any image
Knowing how to take photos improves any kind of image because it lets you make better decisions before capturing it. Often a photo looks bad not because the camera is poor, but because the light is unflattering, the background is distracting, the framing is messy or the main subject is out of focus.
When you understand the basic elements of a good photograph, you can turn an ordinary scene into a far more interesting image. For example, a photo taken in front of a window with soft light can look much better than an image taken with direct flash. In the same way, a portrait with a clean background usually works better than a photo full of distracting objects.
Learning how to take beautiful photos also helps you communicate better. An image can sell a product, show an experience, highlight a personal brand or preserve an important memory. That is why, before taking a photo, it is worth asking yourself: what do I want to highlight? What should the viewer look at first? Which elements are unnecessary?
The importance of light, framing and visual intent
Light is one of the most important factors in understanding how to take photos with better results. Good lighting can make an image look clear, natural and professional. Bad light, on the other hand, can create harsh shadows, dull colors or areas that are far too dark.
Framing also defines the visual quality of a photo. It is not just about placing the object or person inside the image, but about deciding where to place them. Good framing guides the eye and helps the image be understood quickly. To achieve it, you can use the camera grid and apply the rule of thirds, positioning the main subject near a line or intersection point.
Visual intent is another key point. If you want to learn how to take beautiful photos, do not shoot at random. Decide whether you want the photo to look elegant, natural, fun, minimalist, professional or intimate. That intent will influence the light, the angle, the background, the pose and even the final edit.
How to take beautiful photos using good light
One of the most important tips on how to take photos is to make good use of natural light. Light can completely change the appearance of an image. The same person, product or landscape can look much better when photographed at the right time of day and from the right angle.
Natural light usually works very well because it is softer and more flattering than many types of artificial light. For portraits, product photos, food or social media content, try using light coming from the side or from a window. This helps create volume, texture and depth without the image looking flat.
If you want cleaner photos indoors, place the object or person near a window. Avoid putting the light directly behind the subject, unless you want to create a silhouette. Also avoid mixing natural light with yellow or fluorescent lights, because that can shift the colors and make the photo look less professional.
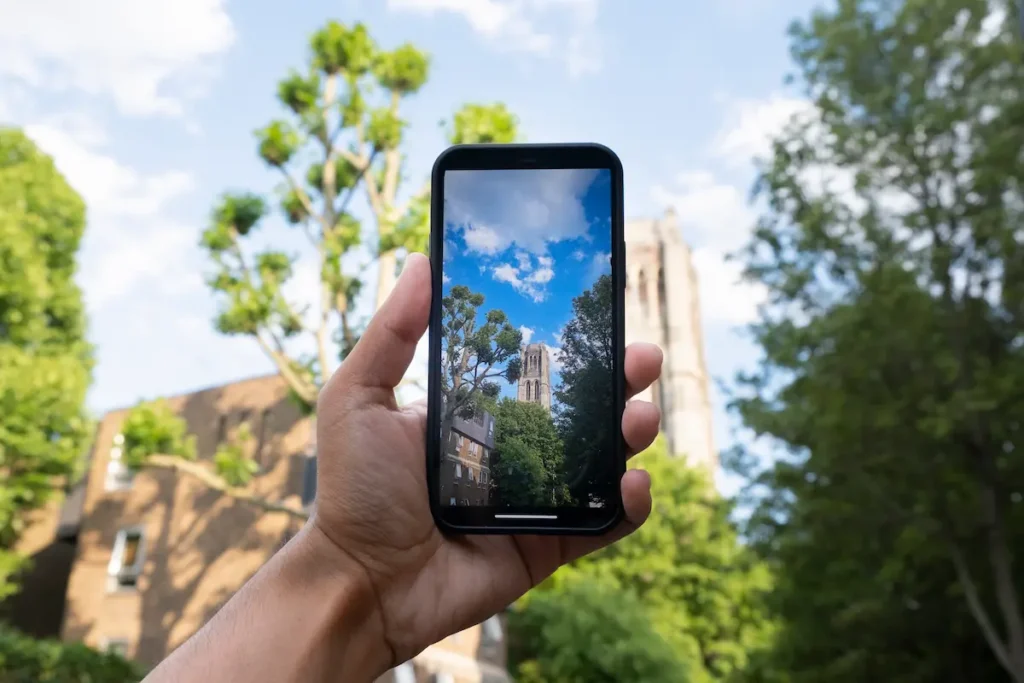
The best natural light for portraits, products and landscapes
For portraits, the best light is usually soft and frontal or lateral. A person placed near a window can look much better than under a strong lamp from above. Side light helps define the face, while frontal light softens shadows and details.
For products, natural light lets you show colors and textures more clearly. If you are photographing clothing, accessories, cosmetics, décor or any object for social media or an online store, avoid heavy shadows. You can use a white card or a light surface to bounce light and soften the dark areas.
For landscapes, the best moments are usually early morning or late afternoon. At those hours the light is warmer and less harsh. This can help the sky, buildings, streets or open spaces look more attractive. Understanding how to take photos with good light lets you make the most of any place, even without professional gear.
How to avoid harsh shadows, dark photos and dull colors
One of the most common mistakes when practising how to take photos is shooting under light that is too strong. Direct midday sun can create harsh shadows on the face, blown-out areas and contrast that is hard to correct. If you cannot change the time, look for open shade: a bright space, but without direct sun on the subject.
To avoid dark photos, tap the screen on the main subject and adjust the exposure if you are using a phone. On many phones you can raise or lower the brightness before taking the image. This helps you control the light better and prevents the background or the face from being too dark.
Dull colors can also come from poor lighting. If an image looks grey, yellow or lifeless, check the light source. Often, moving closer to a window or changing the angle improves the photo without needing much editing. That is why, if you want to master how to take beautiful photos, always start by checking the light before thinking about filters or retouching.
How to take photos with better composition
Composition is the way you organize the elements inside an image. Good composition helps the photo look tidier, more attractive and easier to understand. Even with good light, an image can lose strength if the framing is messy or if too many elements compete for attention.
Learning how to take photos with better composition means observing before shooting. Look at the background, the edges of the image, the subject’s position and the space around it. Ask yourself whether anything is distracting, whether the framing feels balanced and whether the viewer will quickly understand what the main point is.
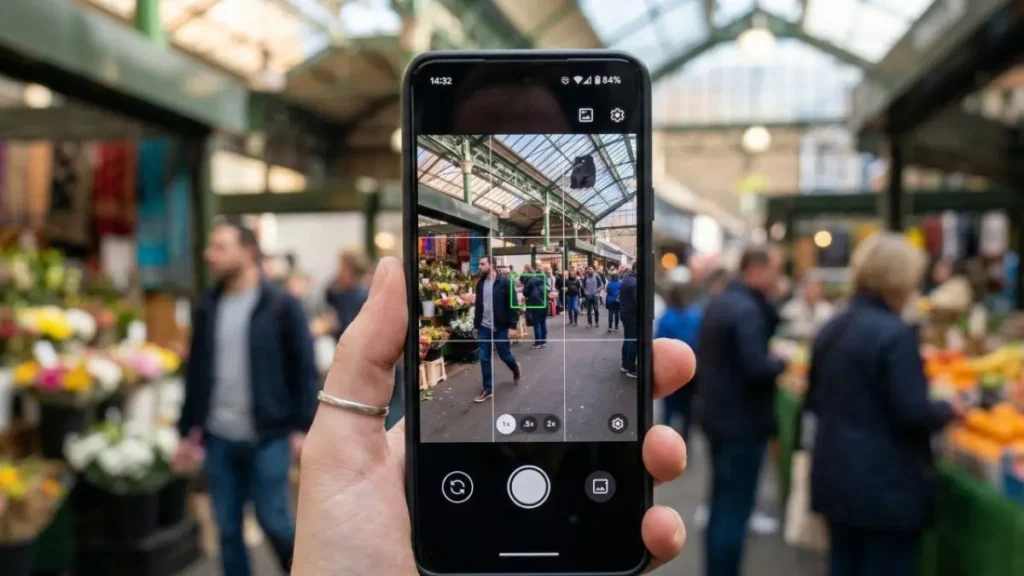
Turn on the grid and use the rule of thirds
A simple way to improve your photos is to turn on your camera’s grid. This tool divides the screen into nine parts and helps you place the elements better. The rule of thirds consists of placing the main subject near one of the lines or intersections, instead of always putting it exactly in the centre.
This does not mean you should never centre a photo. Sometimes a centred frame works very well, especially in portraits, architecture or symmetrical images. However, if you are starting out, the rule of thirds is a useful guide for achieving more dynamic compositions.
Clean backgrounds, visual lines and negative space
A clean background can improve a photo instantly. Before taking the image, check for cables, objects, cropped people, stains or elements that distract. The cleaner the background, the easier it will be to highlight the main subject.
Visual lines also help guide the eye. Streets, walls, tables, stairs, windows or shadows can direct attention towards the most important point of the image. In addition, negative space — the empty area around the subject — can make a photo look more elegant and professional.
Improving how to take photos does not mean filling the entire frame. Sometimes leaving air around the subject makes the image breathe and look more balanced. This technique works very well for portraits, products, fashion, food and social media content.
How to take beautiful photos with a phone or iPhone
Learning how to take photos with a phone or iPhone is one of the most practical ways to improve your images without buying professional gear. Most current phones have powerful cameras, but the final result depends a great deal on how you use light, focus, stability and composition. Even an advanced camera can produce a bad photo if the lens is dirty, if there is little light or if the framing has no intent.
If you want to know how to take beautiful photos, start by cleaning the lens before every shot. It seems like a minor detail, but fingerprints or dust can reduce sharpness and create a blurry look. It is also a good idea to tap the screen on the main subject to lock the focus. On many phones, tapping the screen also lets you adjust the exposure, raising or lowering the brightness before capturing the image.
Focus, exposure and stability from the phone camera
One of the most important points when practising how to take photos is keeping the camera steady and controlling the light before shooting. On iPhone, you can greatly improve the result using simple features such as manual focus, exposure adjustment, the grid and AE/AF lock. These settings help avoid blurry, dark or badly framed photos.
| iPhone setting | How to use it | What it is for |
|---|---|---|
| Manual focus | Tap the screen on the main subject. | Helps the person, product or object come out sharper. |
| AE/AF lock | Press and hold on the subject until the lock appears. | Keeps focus and exposure fixed even if you move the camera slightly. |
| Exposure adjustment | After tapping the screen, slide the sun icon up or down. | Corrects photos that are too dark or too bright before you take them. |
| Grid | Turn it on in Settings > Camera > Grid. | Helps you compose better using the rule of thirds and keep lines straight. |
| Level | Turn it on in Settings > Camera > Level, if available. | Helps avoid tilted photos, especially in landscapes, products or architecture. |
| Portrait mode | Use it when you want to separate a person or object from the background. | Creates depth and background blur, ideal for portraits or details. |
| Night mode | Let the iPhone activate it in low-light places and keep the phone steady. | Improves dark photos without using direct flash. |
| Live Photo | Turn it off if you need a cleaner, lighter image. | Avoids unnecessary captures when you only need a still photo. |
| Flash | Leave it off in most cases. | Avoids harsh shadows, strong highlights and unnatural colors. |
For better results, hold the iPhone with both hands, rest your elbows against your body and avoid moving right after pressing the button. If the scene has little light, look for a firm surface or use a small tripod. A steady, well-exposed photo will almost always look better than an image over-corrected in editing.
When to avoid digital zoom so you don’t lose quality
A common mistake when learning how to take photos with a phone is overusing digital zoom. In many cases, digital zoom simply crops the image and reduces quality. If you need to get closer, it is better to physically move towards the subject or use a real phone lens, such as a telephoto, if your model has one.
To keep more detail, take the photo with good light and crop afterwards only if necessary. This usually gives better results than capturing a heavily zoomed image from the start. It also helps to review the photo after taking it, zooming in to check whether the subject really came out sharp.
How to take beautiful photos according to the type of image
Not all photos are taken the same way. The technique changes depending on whether you want to photograph a person, a product, a dish, a landscape or content for social media. That is why learning how to take beautiful photos also means adapting the framing, the light and the format to the goal of each image.
| Type of photo | Main recommendation | Mistake to avoid |
|---|---|---|
| Portraits | Use soft light, focus on the face and keep a clean background. | Taking the photo in strong direct sun or with a distracting background. |
| Products | Show texture, shape, size and important details. | Using cluttered backgrounds or shadows that hide the product. |
| Food | Make the most of natural side light to bring out color and texture. | Using direct flash or an overly busy composition. |
| Landscapes | Keep the horizon straight and leave space for the scene to breathe. | Tilting the camera without intent or cutting off important elements. |
| Social media | Think about vertical format, carousel or cover before taking the photo. | Leaving no space for text, stickers, logos or platform cropping. |
Portraits, products, food and landscapes
Each type of image needs a different approach. You do not use the same light, framing or distance to photograph a person as you do to capture a product, a dish or a landscape. If you are learning how to take beautiful photos, adapt the technique to the goal of the image.
Portraits
In portraits, the priority is for the light to flatter the face and for the person to stand out clearly within the frame.
- Use soft, frontal or side light.
- Avoid direct sun on the face.
- Look for clean backgrounds that do not distract.
- Check that no objects appear to stick out visually behind the head.
- Always focus on the eyes to achieve greater visual connection.

Products
In product photos, the most important thing is for the object to look clear, recognizable and appealing.
- Use a simple, tidy background.
- Show texture, size, color and important details.
- Avoid harsh shadows that hide parts of the product.
- Take one overall photo and several detail shots.
- Keep the product well lit and centred if it is for an online store.

Food
In food photography, natural light helps bring out colors, texture and freshness.
- Use side light near a window.
- Avoid direct flash, because it can flatten the image.
- Make sure the dish looks clean and appetizing.
- Try overhead or 45-degree angles.
- Add simple elements, such as cutlery or napkins, without cluttering the scene.

Landscapes
In landscapes, framing and stability are key for the image to look balanced.
- Keep the horizon straight.
- Make the most of morning or sunset light.
- Try different heights before taking the photo.
- Leave space for the scene to breathe.
- Use elements of the environment, such as paths or lines, to guide the eye.
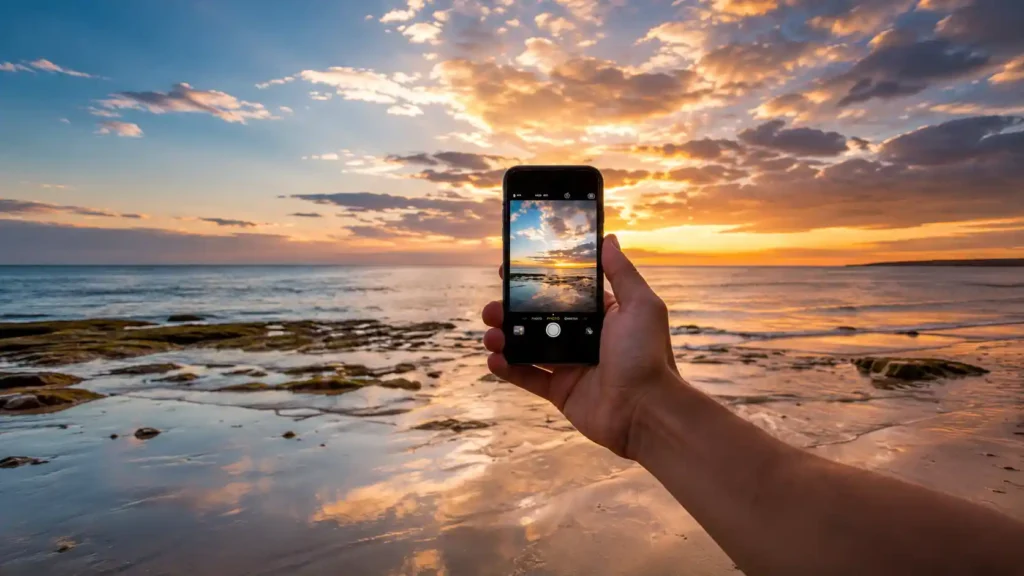
Photos for Instagram and social media
For social media, how to take photos depends a great deal on the format where the image will be published. Before capturing, think about whether the photo is for Stories, Reels, feed, carousel or a cover. That way you can choose the framing better, leave space for text and avoid crops that affect the main subject.
| Type of content | Recommended format | Main tip |
| Instagram Stories | Vertical 9:16 | Leave space at the top or bottom for text, stickers or links. |
| Reels / TikTok | Vertical 9:16 | Place the subject in the centre and avoid important elements at the edges. |
| Instagram feed | Square 1:1 or vertical 4:5 | Use good light and a clean background to stand out quickly in the scroll. |
| Carousels | Square 1:1 or vertical 4:5 | Keep a consistent aesthetic across all the images. |
| Reels covers | Vertical 9:16 | Place the main element in the centre so it is not cut off in the preview. |
| Blog or website | Horizontal or vertical depending on the design | Take the photo with extra space so it can be adapted to desktop and mobile. |
How to edit photos without them looking artificial
Editing should improve the image, not transform it completely. To understand how to take photos with a more professional result, it is important to know that good editing starts with a good shot. If the photo is out of focus, very dark or badly composed, no filter will fully fix it.
Start by adjusting exposure, contrast, shadows, highlights and temperature. Then you can correct saturation and sharpness in moderation. Avoid pushing clarity or saturation too far, because the photo can look fake, especially on skin, food or products.
Basic light, color, contrast and sharpness adjustments
A natural edit seeks balance. If the photo is very cool, you can raise the temperature slightly. If it looks dull, adjust the contrast a little. If the shadows are too heavy, lift them carefully to recover detail. Sharpness can help, but applied in excess it can create hard, unnatural edges.
Editing mistakes you should avoid
Editing can greatly improve an image, but it can also ruin it if used in excess. When you are learning how to take beautiful photos, it is important to understand that editing does not mean completely transforming the photo, but correcting small details of light, color, contrast and sharpness so the result looks cleaner and more natural.
These are the most common editing mistakes:
- Using the same filter on every photo: each image has a different light and color, which is why not every filter works the same way.
- Pushing saturation too far: very intense colors can make the photo look artificial or unprofessional.
- Brightening the image too much: if you raise the exposure a lot, you can lose important detail in the bright areas.
- Darkening the shadows too much: very heavy shadows can hide information and make the image look heavy.
- Smoothing the skin too much: in portraits, excessive smoothing can remove natural texture and create an unrealistic effect.
- Applying too much sharpness: exaggerated sharpening can create hard edges and visual noise.
- Changing the temperature too much: an image that is too warm or too cool can distort the real tones of skin, food or products.
- Editing without reviewing the final result: always look at the photo at normal size and on mobile to check whether it looks natural.
- Not keeping an original version: keep the unedited photo in case you need to make new adjustments later.
- Fixing in editing mistakes that should have been avoided when taking the photo: an image that is out of focus, blurry or badly lit can rarely be fixed by editing alone.
How to optimize your photos for web and social media
If you are going to publish images on a website, blog or online store, aesthetics are not the only thing that matters. You also need to think about file size, format, file name and alt text. Knowing how to take photos for the internet means preparing images that load fast and that Google can understand better.
Before uploading an image, reduce its file size without losing visual quality. Use descriptive names instead of generic files such as IMG_1234.jpg. For example, a name like guide-to-taking-beautiful-photos.jpg is clearer and more useful. Also add ALT text that describes the image in a natural way.

File size, format, file name and ALT text
For web, formats such as WebP or optimized JPG usually work well. The image should look clear, but not be too heavy. This helps improve loading speed, especially on mobile. The file name should describe the content, and the ALT text should explain what appears in the image without stuffing it with keywords.
Why images also help SEO
Images can support your rankings if they are well optimized. A visually clear blog improves the user experience, increases reading time and can attract traffic from Google Images. That is why a good content strategy should work not only on the text, but also on the images that accompany each section.
Common mistakes when taking beautiful photos
Although it may seem simple, many problems in a photo appear before you press the shutter. Light, background, focus, stability and even the final format can strongly affect the result. If you are learning how to take beautiful photos, spotting these mistakes will help you improve faster and get cleaner, clearer and more professional images.
These are the most common mistakes when taking photos:
- Using a dirty lens: clean the lens before every session to avoid smudges, reflections or blurry photos.
- Shooting in bad light: avoid spaces that are too dark or very strong direct light. Look for natural light, open shade or a window.
- Overusing digital zoom: on many phones it reduces image quality. It is better to physically move closer to the subject whenever possible.
- Not checking the background: remove objects, cables, cropped people or elements that distract from the main subject.
- Taking the photo without focusing: tap the screen on the main object or person to ensure greater sharpness.
- Moving the camera when shooting: hold the phone with both hands or lean on a stable surface to avoid blurry photos.
- Over-editing: avoid excessive saturation, strong filters or artificial smoothing. A natural edit usually looks better.
- Not thinking about the final format: decide beforehand whether the image will be vertical, square or horizontal depending on where you will publish it.
- Cutting off important parts of the subject: check the edges of the frame so you do not cut off hands, feet, products or relevant details.
- Taking only one photo: shoot several versions with different angles, distances and compositions so you have more options.
Conclusion: how to take beautiful photos with practice and visual judgement
Mastering how to take beautiful photos requires practice, observation and visual judgement. Start by taking care of the light, tidying up the framing, focusing correctly and avoiding distractions in the background. Then adjust the editing in moderation and optimize your images if you are going to publish them on the web or social media.
It is also useful to observe visual events where composition, lighting and movement play an important role. For example, a fashion week runway can help you better understand how light, angles, backgrounds and visual direction influence good photography.
In short, learning how to take photos is not about memorizing complicated rules, but about looking more carefully before you capture. If you apply these tips consistently, your images will look clearer, more professional and more attractive, even if you only use a phone.
Need professional photography for your brand?
Corporate portrait, product, events and location work across Peru.
See the service